Furniture Assembly for Neighbors: A Patient Helper’s Side Income
Flat-pack furniture is everywhere, and the instruction sheets are not always easy to follow. Small pictures, tiny screws and a dozen identical-looking bolts can leave a busy family, or an older neighbor living alone, with a box of parts and no idea where to begin. If you are patient, like working with your hands and can read a diagram, helping neighbors put their furniture together can be a friendly little side income. It could help cover a monthly bill, such as a $20 streaming plan, with just a few jobs.
This guide covers what the work involves, what it may pay, how to set a fair price, how to find your first customers, and how to do it safely.
What the work is
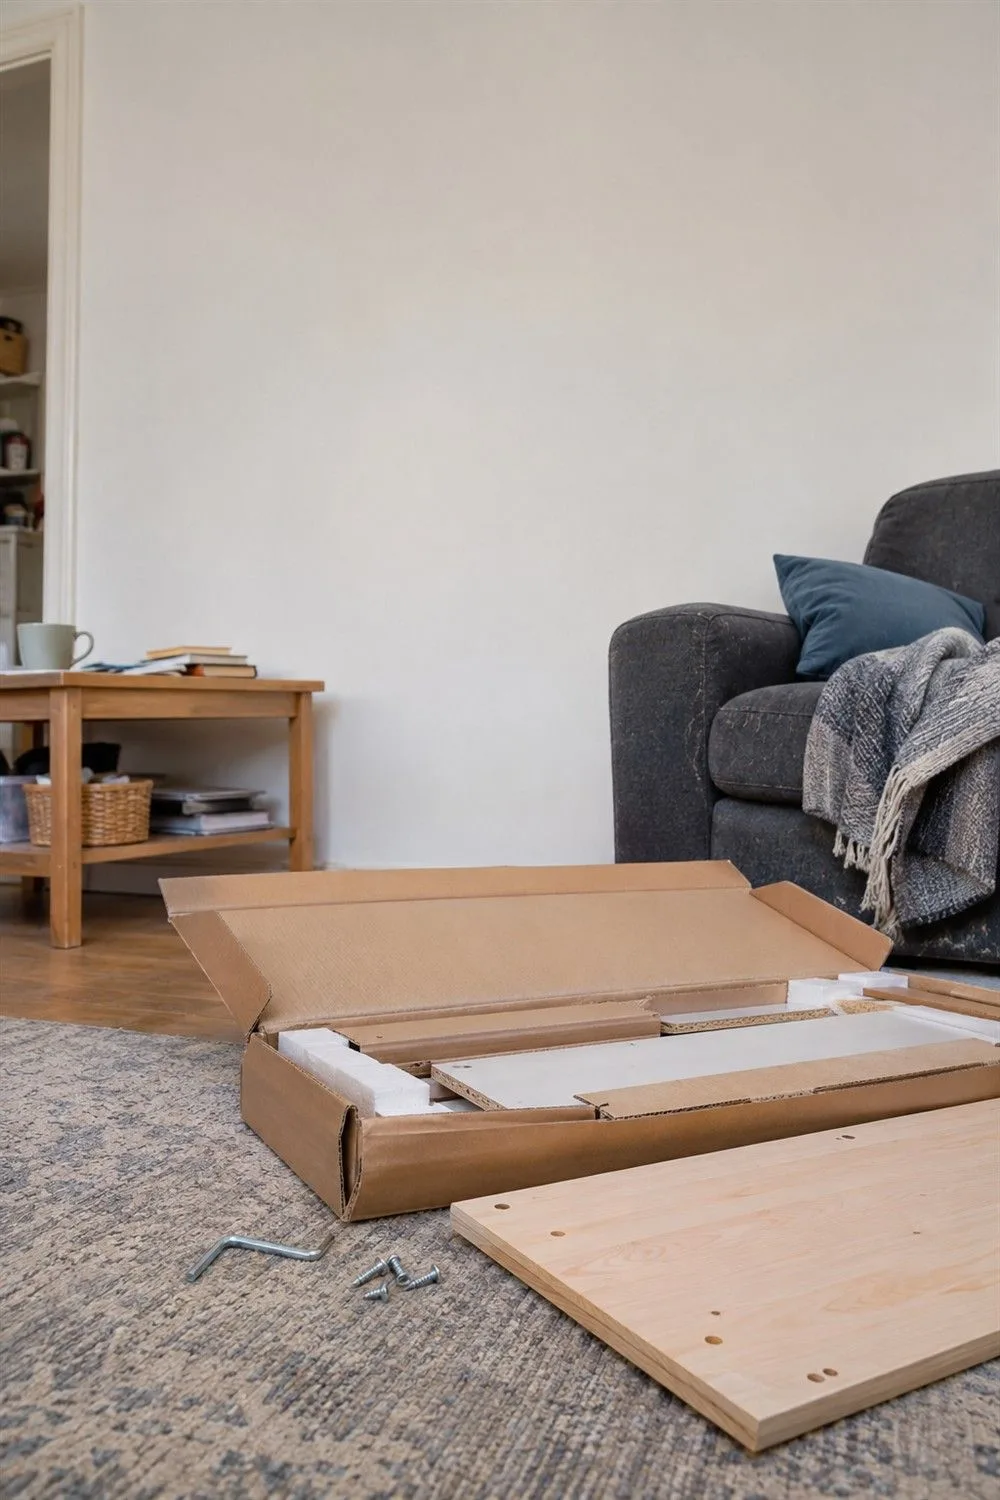
You visit a customer’s home, open the boxes, and build what is inside: a bookcase, a desk, a bed frame, a dresser, a patio table. Then you tidy up and, if the customer wants, take the cardboard and packing away. Most jobs need only simple tools, and many customers have the basic ones already.
Many neighbors who might hire you are not lazy or helpless. They may have a bad back, shaky hands, poor eyesight, or a few hours of free time and no wish to spend them on the floor with a hex key. You are offering time and a steady pair of hands.
What it may pay
Prices vary a lot by town. As one reference point, the online marketplace TaskRabbit says on its cost guide (updated October 2026) that furniture assembly costs about $34 per hour on average in the U.S., with a typical range of $40 to $100 an hour depending on the assembler. It lists most states between about $29.52 and $40.09 an hour, and higher in big cities, such as $56 in New York City.
The same guide gives rough starting prices by size: about $40 for small pieces such as chairs or end tables, about $80 for medium pieces such as coffee tables or shelves, about $100 for large pieces such as dressers, desks and dining tables, and about $150 for extra-large or complex items such as wardrobes or bunk beds. Those are national estimates, not promises. Prices where you live may be lower or higher, and a beginner may need to start below the going rate.
A simple way to price
- Check what other services in your area charge, then price a little below them while you are new.
- Offer a flat price per item, such as “$60 for a desk,” so the customer knows the cost up front. Flat prices also protect you if a job goes slowly.
- Set a small minimum for any visit, so a ten-minute job still covers your time.
- Say in advance whether hauling away boxes costs extra. TaskRabbit’s guide lists packaging disposal and wall anchoring as common add-ons.
- Ask for payment when you finish. Cash, a check, or a payment app the customer already uses are all fine. Never take payment in gift cards.
Tools worth having
You do not need a workshop. A small kit goes a long way:
- A set of screwdrivers (Phillips and flat) and a hex key set.
- A rubber mallet, for tapping dowels into place.
- A small adjustable wrench or socket set.
- A tape measure and a small level.
- A flashlight or headlamp for dark corners.
- A cardboard box cutter, used with care, for the packaging.
- A stud finder and wall anchors, if you plan to offer anchoring.
A cordless drill can save your wrists, but many pieces are better assembled by hand, because a power tool can easily strip screw heads and damage the holes in particleboard. Go slowly and keep it on a low setting.
Doing the job well
- Before you start, open every box and check the parts against the parts list. If something is missing or damaged, stop and tell the customer. They will need to contact the maker.
- Lay out a blanket or cardboard so you do not scratch the floor or the furniture.
- Sort the screws and bolts into small cups or a muffin tin. Lay out the pieces in the order you will need them.
- Read all the steps once before you begin. Many mistakes come from building a piece the wrong way around.
- Tighten bolts fully only at the end, so you can adjust the frame if something does not line up.
- When the piece is finished, wiggle it gently to check it is sturdy. Show the customer how drawers and doors work.
- Collect the packaging, wipe the dust, and leave the room as you found it.
Safety first: tall furniture can tip
There is one safety point every furniture helper should know. The U.S. Consumer Product Safety Commission (CPSC) runs a campaign called Anchor It! because tall furniture and TVs can tip over and seriously injure children. The CPSC advises anchoring TVs and furniture such as bookcases and dressers to the wall. If a piece cannot be anchored, it recommends keeping heavier items on lower shelves, and keeping toys and remotes where children will not climb to reach them. Federal rules, which took effect in September 2023, now require clothing storage units such as dressers to meet stability standards.
If a customer has grandchildren who visit, offer to anchor the piece, and tell them why. Anchoring needs the right wall hardware for their type of wall, so follow the kit’s directions, and say so if you are unsure.
Protect your own body
- Ask for help to lift or move any large, heavy box or finished piece. Do not lift it alone.
- Work at a table or on a raised surface when you can, so you are not bent over for an hour. Take breaks to stand and stretch.
- Never stand on a chair or stool to reach high shelves. Use a stable step ladder, or ask the customer to move the piece to a lower spot.
- Wear closed shoes and keep fingers clear when pushing panels together.
- Do not take jobs that need a ladder or anything beyond what you can handle comfortably. It is fine to say no.
Finding your first customers
Start close to home. Tell neighbors, friends at church or your club, and family what you offer. Put a short, friendly note on the community bulletin board. Neighborhood groups such as Nextdoor can help too. Our guide on finding your first local customers covers these in more detail. Ask each happy customer to mention you to a friend. Furniture is often bought just before a move, a holiday visit, or a new school year, so those are busy moments.
Keep your message plain and honest: what you build, your price, and the area you cover. Do not claim to be licensed, insured or an expert unless you are.
Simple agreements, insurance and permits
A short written note of what you will do and for how much avoids confusion. We have a simple one-page agreement guide you can adapt. If you damage a customer’s floor or wall, you would be responsible, so some helpers check with their insurance agent about small-business or liability coverage. Rules on business licenses and permits vary by state and city, so ask your city or county office. This is general information only.
Taxes and your benefits
Money you earn this way is generally taxable income. The IRS says that if your net self-employment earnings reach $400 or more, you generally use Schedule SE, and you report the income and costs on Schedule C. If you collect Social Security before your full retirement age, earnings can reduce your monthly benefit for a time. For 2026, the Social Security Administration’s limit is $24,480 a year for those under full retirement age for the whole year, and it rises to $25,560 in 2027. SSI, Medicaid and housing help have their own limits. Please check your own situation with irs.gov, ssa.gov, medicaid.gov or a tax preparer before you start.
A gentle start
Begin with one or two jobs for people you trust, build a small kit, and learn what a typical piece takes. If it suits you, let it grow slowly. If it does not, you have helped a neighbor and lost nothing.
More on Replace a Bill
- Small Repairs for Neighbors: Starting a Simple Handyman Service
- Finding Your First Local Customers: Word of Mouth, Bulletin Boards and Nextdoor
- A Simple One-Page Agreement for Your Neighborhood Service